

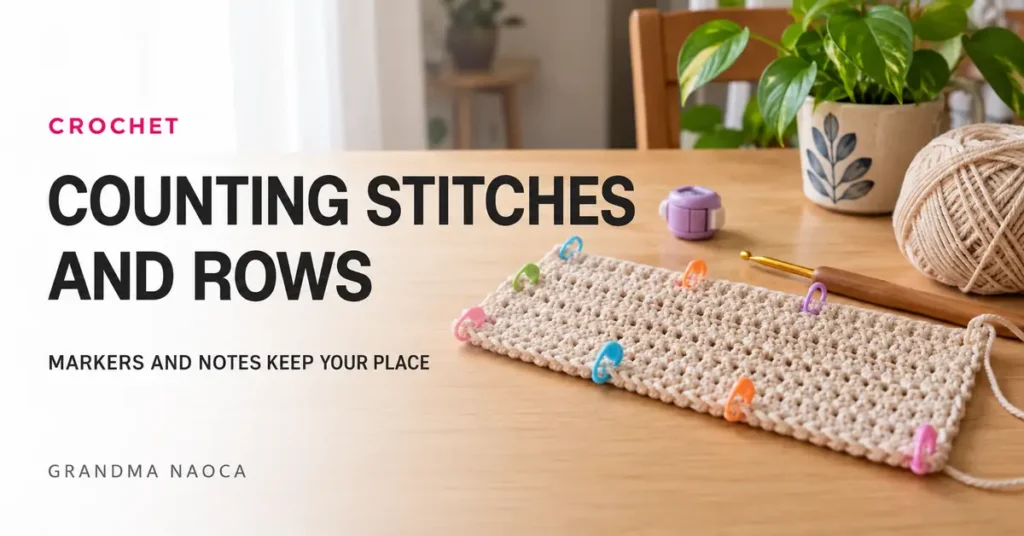
Counting is easier when you know which part of the fabric to look at. Stitch markers and a short note can turn a confusing pile of loops into a clear record of where you are. Start with a simple sample in good light.
Find the top of each stitch
Most basic crochet stitches have a V-shaped top made of two loops. Trace these Vs across the row, moving slowly enough to distinguish one stitch from the next. Chain spaces and decorative stitches may need a different counting approach, so follow the pattern’s stitch total.
At the edge, check whether the turning chain counts as a stitch. A slip stitch used to join a round also does not automatically count. Keep those rules beside the pattern so you do not change them halfway through.
Count rows from a clear reference point
Lay the fabric flat and identify the horizontal rows of stitch bodies. Different stitches make different textures; on a single crochet sample, it can help to compare the front and back under side lighting. Do not pull the fabric to create gaps that are not normally there.
A row counter or pencil tally is useful only if you update it consistently. Mark a row after finishing it, not before starting it. Write “completed row 8” rather than “row 8” if that wording prevents confusion later.
Mark the beginning of a round
For continuous rounds, place a marker in the first stitch and move it to the first stitch of each new round. This is especially helpful when the work spirals and there is no joining seam.
For joined rounds, distinguish the first stitch, starting chain, and joining slip stitch according to the pattern. If the starting chain counts, mark it as instructed; if it does not, mark the first actual stitch instead.
Break a long count into small groups
Place a marker every 10 or 20 stitches, or at the end of each pattern repeat. Count each group, then check the total. The number of repeats and the total number of stitches are different records: keep both if the pattern uses both.
As a simple example, six single crochet increases add six stitches. If a round starts with 42 stitches and the other stitches are worked once, it finishes with 48. This arithmetic helps verify a pattern; it does not tell you where the increases belong.
Write a useful stopping note
Before putting the work away, record the last completed row or round, stitch count, hook size, and any changes you made. Leave markers in place. A minute of notes can save you from recounting the entire project.
Your practical checklist
- Identify the top Vs without counting the active loop.
- Confirm chain and joining-stitch rules.
- Mark edges or the beginning of the round.
- Count long rows in smaller groups.
- Record the last completed row and its total.
Frequently asked questions
Does the loop on my hook count?
No. It is the active loop, not a completed stitch.
Should I count a chain space as one stitch?
Use the pattern’s stated total and counting method. A chain space and the chains forming it are not always counted in the same way.
Can I use a scrap of yarn as a marker?
Yes, if it is secure and easy to distinguish. A locking marker is convenient, but it is not the only option.
Keep learning
- Why Your Crochet Edges Go Crooked—and How to Find the Cause
- How to Make and Measure a Crochet Gauge Swatch
- How to Read a Crochet Chart Without Losing Your Place
Helpful references: Craft Yarn Council crochet abbreviations. These resources support terminology and general guidance; your pattern instructions and yarn care label take priority.