
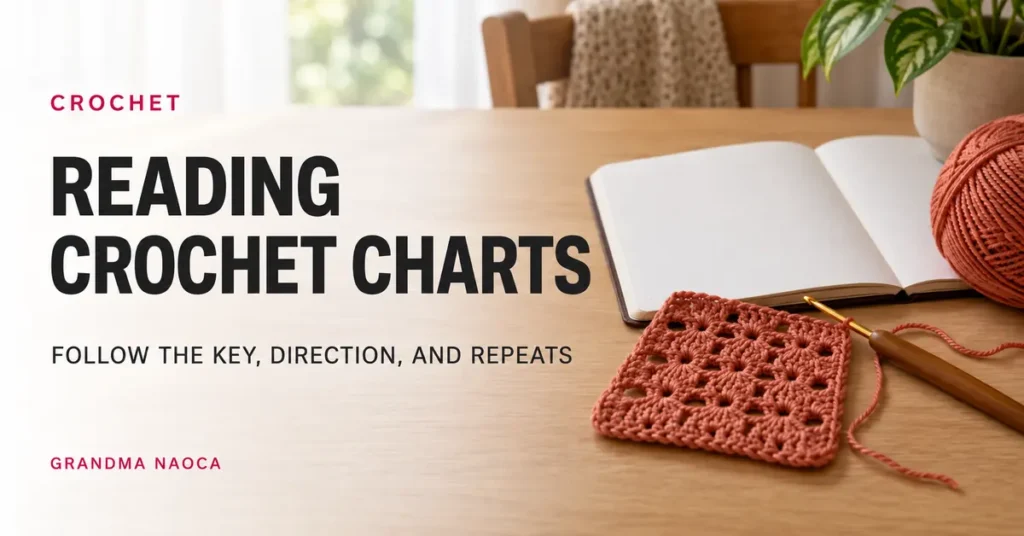
A crochet chart is a picture of the stitches and how they connect. Once you identify the symbols and the reading direction, you can follow a small section at a time. You do not have to understand the entire design at first glance.
Start with the key, not the picture
The legend explains which stitch each symbol represents and may include special instructions for clusters, increases, or joins. General symbol charts are helpful, but the pattern’s own key has priority. Confirm whether the written instructions use U.S. or U.K. terms.
Find row or round numbers, arrows, and repeat brackets. These clues explain the order of work. A large decorative motif can become manageable once you separate the starting section from the repeats.
Follow the intended direction
For many right-handed, back-and-forth charts, the first row is read from right to left and the next from left to right. Check the arrows rather than assuming every chart follows that convention. Left-handed guidance may require a mirrored approach, depending on the designer.
Charts worked in rounds commonly begin near the center and move outward. Look for the indicated starting ring, chain, join, or round numbers. The arrangement of symbols shows relationships; their visual distance on the page is not a gauge measurement.
Trace one repeat before crocheting it
Identify the stitches a repeat consumes and the stitches it produces. A cluster worked into one base stitch differs from several stitches worked into separate bases. Look closely at where the symbols meet.
Compare the chart with any written instructions provided. If they do not appear to agree, check the key and pattern corrections before guessing. Write out one small repeat in your own words if that helps you understand its sequence.
Use simple tools to keep your place
A ruler, removable note, or digital highlight can mark the current row on your own working copy. Move the marker only after completing the row or round. Keep a stitch marker at the beginning of the fabric’s round as well as a place marker on the chart.
For a complicated repeat, practice a small sample first. Count at the end of each section so you can identify a mistake while it is still close to the hook.
Treat charts as pattern instructions
Do not assume that a symbol resembles the motion you should make. Use the legend to identify it, then use the stitch instructions to work it. A reliable chart, its key, and the written notes work together; none should be skipped.
Your practical checklist
- Confirm the terminology and special-symbol key.
- Locate the starting point and direction arrows.
- Identify the repeat boundaries.
- Practice one repeat and check its count.
- Mark each completed row or round.
Frequently asked questions
Are all chart symbols identical?
Many are widely recognized, but special symbols and conventions can vary. The designer’s key is the final reference.
Can I use a chart if I am left-handed?
Yes. Check the designer’s left-handed notes or mirrored reading guidance rather than simply reversing all instructions without checking construction.
Why does the chart look wider than my fabric?
Chart spacing illustrates stitch relationships, not exact dimensions. Gauge determines the actual fabric size.
Keep learning
- Crochet Abbreviations: A Quick Guide to U.S. Terms
- How to Count Crochet Stitches, Rows, and Rounds
- 7 Crochet Basics to Practice Before Your First Project
Helpful references: Craft Yarn Council crochet chart symbols, Craft Yarn Council crochet terminology. These resources support terminology and general guidance; your pattern instructions and yarn care label take priority.