

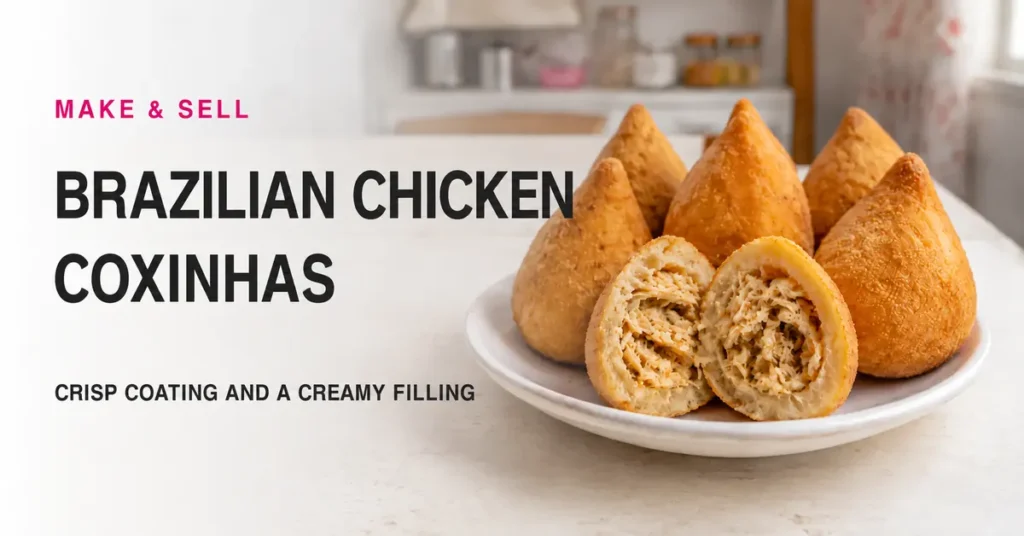
Coxinhas wrap shredded chicken in a cooked dough, then add a crisp coating. This version uses the chicken broth to season the outside as well as the filling. Cold components and careful sealing make shaping easier and reduce leaks during frying.
- Prep
- 45 minutes
- Cook or chill
- fry in small batches; cooling and shaping time vary
- Yield
- about 24 coxinhas, depending on portion size
Ingredients
The original recipe uses a 240 ml cup and 15 ml tablespoon. U.S. volumes, pan sizes, and oven settings are rounded; listed grams and milliliters are the best guide for repeating a batch. Use Brazilian table cream and 50% cocoa chocolate powder where specified, rather than assuming U.S. heavy cream or unsweetened cocoa is identical.
Cooked dough
- 500 ml strained chicken broth
- 250 g all-purpose flour
- 50 g butter
- ½ teaspoon salt
Filling
- 500 g cooked shredded chicken
- 1 small onion, chopped
- 2 garlic cloves, minced
- ½ cup tomato sauce (120 ml)
- 150 g firm cooking requeijão
- Chopped parsley and scallions, paprika, salt, and pepper to taste
- A little oil for sautéing
Coating and frying
- 2 cups dry breadcrumbs or panko, measured in a 240 ml cup
- 1 cup cold water (240 ml) OR 2 beaten eggs
- Oil for deep-frying
How to make it
- Sauté onion and garlic in a little oil. Add chicken, tomato sauce, and seasonings, and reduce until moist but not soupy. Cool promptly under refrigeration, then mix in requeijão.
- Bring broth, butter, and salt to a boil. Add all the flour at once and stir firmly until a ball forms and leaves a film on the pan’s base.
- Transfer to a heat-safe surface. When safe to handle, knead briefly until smooth. Cover and cool promptly; do not leave the filling warming while you work.
- As a starting portion, use about 35 g dough and 20 g filling. Open a cavity, add filling, close without trapped air, and shape a teardrop. Weigh the actual dough yield; the count may vary.
- Dip in cold water or beaten egg, then breadcrumbs. Rest for 10 minutes under refrigeration.
- Heat frying oil to 340–350°F (170–175°C). Use a heavy pan filled no more than halfway with oil, lower dry pieces carefully, and fry a few at a time.
- Drain on a rack when golden, checking that the filling reaches 165°F. Serve promptly or cool safely and refrigerate. A browned coating alone does not prove the center is hot enough.
Small details that help
Thin dough at the pointed tip, warm filling, or trapped air can cause splits. Frozen coxinhas need a separately tested frying method that heats the center without burning the coating. Never add wet or ice-covered food carelessly to hot oil.
Portioning and packaging
Record dough and filling weights rather than relying on the estimated count. Include frying oil purchase, absorption, replacement, and disposal costs along with crumbs and packaging. Use oil within its manufacturer’s guidance and stop using degraded oil.
Thinking of selling this in the U.S.?
Check this exact product with your state and local food regulator before taking orders. Home-food permissions depend on the location, recipe, kitchen, and sales channel. Refrigerated dairy, custard, chicken, and meat products must not be assumed eligible for cottage-food sales. Ask about permits, approved facilities, handling, labeling, and delivery restrictions. The FDA food-business overview is a starting point, not approval to sell this recipe.
Calculate costs from your own batch
- Record ingredient quantities and current local costs in U.S. dollars.
- Add packaging, labels, utilities, refrigeration or freezing, waste, and labor.
- Divide the batch cost by the actual number of acceptable finished units.
- Include applicable taxes, overhead, delivery, and payment fees when setting a price.
No selling price, profit margin, sales volume, or income is guaranteed. A trial batch helps you assess consistency; it does not validate commercial food safety.
Labels and allergens
Check ingredient and packaging labels for milk, eggs, wheat, soy, nuts, and other allergens that apply to this batch. Keep supplier information and ingredient subcomponents, and prevent cross-contact. A short list of likely allergens is not a complete sales label. Ask the regulator what ingredient order, net quantity, business identification, allergen statements, and any cottage-food notice are required. See the FDA food-allergen guidance.
Storage and delivery
Frequently asked questions
Can I use panko?
Yes. It produces a different, coarser coating than fine breadcrumbs.
Can I fry straight from frozen?
Only with a tested method for this size and filling. Verify 165°F in the center and follow fryer safety instructions.
Is the yield exactly 24?
No. Evaporation and portion sizes affect it. Weigh the finished dough and filling before planning the batch.