

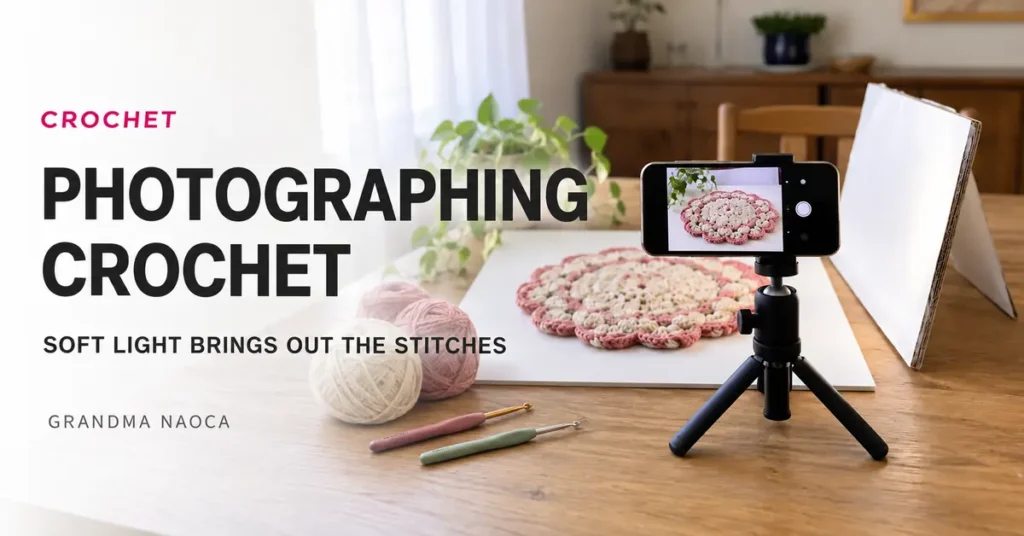
A good crochet photo lets the texture, shape, and color speak for themselves. You can begin with a phone, soft window light, and a simple background. Clear, honest pictures are more useful than a strong filter that changes what the piece looks like.
Find soft, consistent light
Try indirect window light or a shaded outdoor area. Direct midday sun can create hard shadows that hide stitches. Turn off nearby lamps if their warm color conflicts with the daylight.
Move the piece or camera until the stitches are visible without harsh glare. A white board or plain sheet beside the setup can reflect some light into the shadowed side. Keep the camera stable and clean the phone lens before taking the photos.
Choose a background that helps the fabric stand out
A simple backdrop with enough contrast makes the edges easier to see. Light crochet may disappear on a bright white surface; dark work may need a lighter background. Remove clutter that competes with the piece.
Smooth or arrange the item in its natural shape. Do not stretch it into proportions it does not keep during use. Props can suggest scale or purpose, but they should not hide important details.
Take pictures that answer practical questions
Start with one image showing the entire piece. Add a closer view of the stitch texture and another angle showing depth, seams, or fastening details. For an item whose size matters, include an honest scale reference or a clearly stated measurement.
For selling or sharing a pattern, photograph features someone will need to assess: the back, the opening, the lining if present, and the edges. Several purposeful views are better than many nearly identical pictures.
Edit for clarity without changing the product
Crop distractions and make restrained exposure or white-balance corrections. Compare the edited image with the real item in similar light. Avoid filters that change yarn color, erase texture, or make the fabric look smoother than it is.
Save a high-resolution original. Create smaller copies for a blog or social platform rather than repeatedly saving over the only original file. Descriptive file names also make a growing photo collection easier to manage.
Separate blog banners from product photos
An editorial featured image can include a title and category label, as the images on this blog do. A product catalog image has a different job. If you use Google Merchant Center, follow its current image requirements and avoid promotional text, logos, or other overlays on the main product image.
For an ordinary product listing, keep the item clearly visible and accurately represented. Do not use an edited or generated illustration as evidence of the exact item a customer will receive.
Your practical checklist
- Clean the lens and choose soft, consistent light.
- Use a simple background with useful contrast.
- Photograph the whole item and meaningful details.
- Check that edits preserve real color and texture.
- Save the original and use separate export copies.
Frequently asked questions
Do I need an expensive camera?
No. A phone can make clear pictures when the lens is clean, the light is suitable, and the camera is steady.
Should I put a logo on every product photo?
Check the destination platform’s requirements. Blog banners and main catalog images have different purposes; Google Merchant Center restricts overlays on main product images.
Can a filter improve a dull photo?
A modest exposure adjustment may help, but a filter that changes the yarn’s color can misrepresent the piece. Improve the light first.
Keep learning
- How to Finish Crochet Neatly: Ends, Seams, and Edges
- How to Block Crochet Without Damaging the Yarn
- How to Organize Crochet Yarn, Hooks, and Projects
Helpful references: Google Merchant Center main image requirements. These resources support terminology and general guidance; your pattern instructions and yarn care label take priority.